How to Install Self-Adhesive PDLC Smart Film: A Practical Guide
Installing self-adhesive PDLC smart film is closer to applying a large window film than to glazing. If you are still deciding between film and pre-laminated glass, our PDLC fundamentals guide explains the format differences. It is not rocket science, but it is not a DIY weekend project either. The difference between a panel that looks factory-perfect and one that shows bubbles at the edges usually comes down to surface prep, patience, and the right tools.
Here is the process we walk every installer through before they touch a real project.
What You Need Before You Start
Gather your tools first. You will need: a squeegee (felt edge, not sharp plastic), a utility knife with fresh blades, a spray bottle with soapy water (a few drops of dish soap per liter), a measuring tape, a cleaning solution (isopropyl alcohol mixed 1:1 with water), and a roll of PDLC film with the correct dimensions.
Do not skip the soapy water. The lubricant it provides is what lets you slide the film into position on the glass before the adhesive grabs. Dry application on self-adhesive smart film almost always ends in bubbles.
Step 1: Measure and Cut
Measure the glass pane exactly, then cut the film 5 to 10 millimeters larger than the glass on each side. This gives you working room. You will trim the excess after it is on the glass.
Lay the film on a clean flat surface, print side up. Cut with a fresh blade in one smooth stroke. A dull blade tears the edge and leaves a visible seam.
Step 2: Prepare the Glass
This is the step that separates professional work from amateur work. Clean the glass twice. First, use the soapy water and a squeegee to remove dust and grease. Second, use the alcohol solution and a lint-free cloth to wipe down the entire surface. Any speck of dust left behind becomes a visible bubble under the film.
Work in a dust-free environment if possible. Close windows, turn off fans, and avoid working on a windy day.
Step 3: Apply the Film
Peel off a small section of the backing liner, about 10 centimeters, at the top edge of the film. Align the top edge to the glass, leaving the 5 to 10 millimeter overhang. Spray the glass with soapy water as you go.
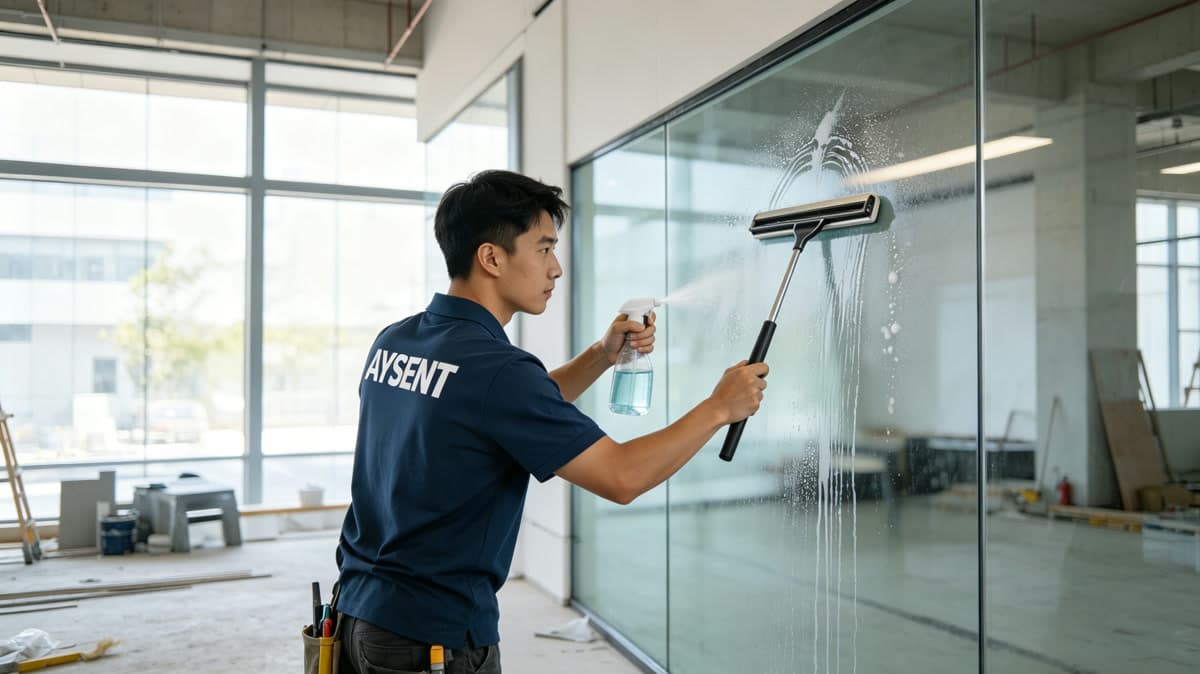
Slowly peel the backing down while pressing the film onto the glass. Use the squeegee from the center outward to push water and air toward the edges. Work in sections. Do not try to apply the whole panel at once.
Step 4: Trim and Finish
Once the film is flat, trim the excess along the edges with a fresh blade held at a 45-degree angle. Squeegee again to remove any remaining water. Pay special attention to the edges; trapped moisture here will appear as cloudy spots within the first week.
Step 5: Connect the Bus Bars
PDLC film has conductive bus bars along its edges. These connect the film to the transformer. Use the supplied bus bar tape or clips, and make sure the connection is clean. A loose bus bar means the film will not switch, or it will switch unevenly.
Connect the wiring to the transformer, then to a switch or remote control. Test the film before you hand the project over.
Common Mistakes to Avoid
- Applying in direct sunlight: The soapy water dries too fast, and you lose working time.
- Rushing the squeegee: Air pockets left behind become permanent bubbles.
- Using dirty tools: A squeegee with old film residue on it scratches the new surface.
- Skipping the second clean: Alcohol wipe is not optional.
As a smart film factory, AYSENT provides installation training and detailed documentation for every order. Before sourcing, read our guide to evaluating PDLC film manufacturers to ensure you are buying from a real factory. If you are a first-time installer on a commercial project, we recommend practicing on a sample panel before the real installation.
Electrical Wiring and Transformer Sizing
The film itself runs on low-voltage AC, typically 48V to 65V, supplied through a transformer that converts your local mains voltage (110V or 220V). Sizing the transformer correctly is critical. The rule of thumb is 10 watts per square meter of film, with a 20 percent safety margin. A 20-square-meter installation therefore needs a 240W transformer minimum.
Undersized transformers are the most common cause of switching failures. The film may switch on but appear dim, or it may switch unevenly from the bus bar outward. Always confirm the total film area with your supplier before ordering the control system, and ask for a wiring diagram that shows bus bar polarity, transformer placement, and switch locations.
For multi-zone installations, each zone needs its own transformer channel. Running two zones off a single channel without a relay will cause both zones to switch together, defeating the purpose of zoning. Plan the transformer location near an electrical junction, and run low-voltage wiring in conduit separate from mains power to avoid electromagnetic interference.
Post-Installation Care
Once the film is installed and tested, the maintenance is minimal. Clean the surface with a non-abrasive glass cleaner and a soft cloth. Avoid spraying cleaner directly onto the edges where the bus bars are located — moisture can seep behind the film and cause edge delamination over time. Instead, spray the cloth first, then wipe.
The edges should be inspected annually for any signs of lifting or cloudiness. If a small edge lift appears, it can usually be re-sealed with pH-neutral silicone before it spreads. Catching it early is far easier than replacing a panel.
Frequently Asked Questions
Can I install self-adhesive PDLC film myself?
What tools are needed for PDLC film installation?
How long does it take to install smart film?
Can PDLC film be applied to curved glass?
What surface preparation is needed before installation?
Ready for Your Project?
Get free samples and a custom quote from AYSENT, your trusted PDLC smart film manufacturer.
Request a Free Quote